a-simple-triangle / Part 15 - Vulkan setup MacOS
Marcel Braghetto 15 June 2019
In this article we will take our basic Vulkan initialisation into the MacOS platform target. Most of the effort to do this is updating the Xcode project structure to include the correct libraries and files - most of the C++ is already done from the previous article.
Setup script
The MacOS platform target is very similar to our console app so we’ll get a good amount of reuse from our setup scripts we wrote in the previous article.
Open up the macos/setup.sh script and add the following command directly beneath the existing fetch_framework_sdl2_image command:
fetch_third_party_lib_vulkan_macos
setup_vulkan_libs_macos
This will download the Vulkan SDK for MacOS if necessary and copy the Vulkan dylib files into the Frameworks folder if needed.
Run the setup script in Terminal in the macos folder and observe the dynamic library files have now been copied into the Frameworks folder:
: root
  + macos
    + Frameworks
      libMoltenVK.dylib
      libvulkan.1.dylib
We also need to create the same vulkan/icd.d/MoltenVK_icd.json structure within our macos folder exactly like for the console target - and you can commit it to version control too. Create the folders and JSON file like so:
: root
  + macos
    + vulkan
      + icd.d
        MoltenVK_icd.json
The content of the MoltenVK_icd.json file should be the same as for the console target:
{
    "file_format_version" : "1.0.0",
    "ICD": {
        "library_path": "../../Frameworks/libMoltenVK.dylib",
        "api_version" : "1.0.0"
    }
}
We now need to update the project.yml file to stitch the libraries and resources into our Xcode project. Open the macos/project.yml file for editing.
Vulkan SDK headers
To include the Vulkan headers we will update the HEADER_SEARCH_PATHS section - observe the additional Vulkan include path:
HEADER_SEARCH_PATHS:
    - $(PROJECT_DIR)/../../third-party/SDL/include
    - $(PROJECT_DIR)/../../third-party/glm
    - $(PROJECT_DIR)/../../third-party/tiny-obj-loader
    - $(PROJECT_DIR)/../../third-party/SDL2_image
    - $(PROJECT_DIR)/../../third-party/vulkan-mac/macOS/include
Link Vulkan dynamic library files
Next we need to link the dylib files into our Xcode project - edit the dependencies section to look like this:
dependencies:
    - framework: Frameworks/SDL2.framework
    embed: true
    - framework: Frameworks/SDL2_image.framework
    embed: true
    - framework: Frameworks/libMoltenVK.dylib
    embed: true
    - framework: Frameworks/libvulkan.1.dylib
    embed: true
    - sdk: OpenGL.framework
Observe the addition of the two dylib files.
MoltenVK ICD meta data
We also need to include the vulkan folder as a resource asset so it gets bundled up and included in the application so it can find it at runtime and therefore bootstrap the MoltenVK ICD. Update the sources section to include the vulkan folder in the resources build phase:
sources:
    - Source
    - path: assets
        type: folder
        buildPhase: resources
    - path: vulkan
        type: folder
        buildPhase: resources
Save and close the project.yml file the run setup.sh again. Open the Xcode project and note the addition of the dynamic libraries and the vulkan resource folder.
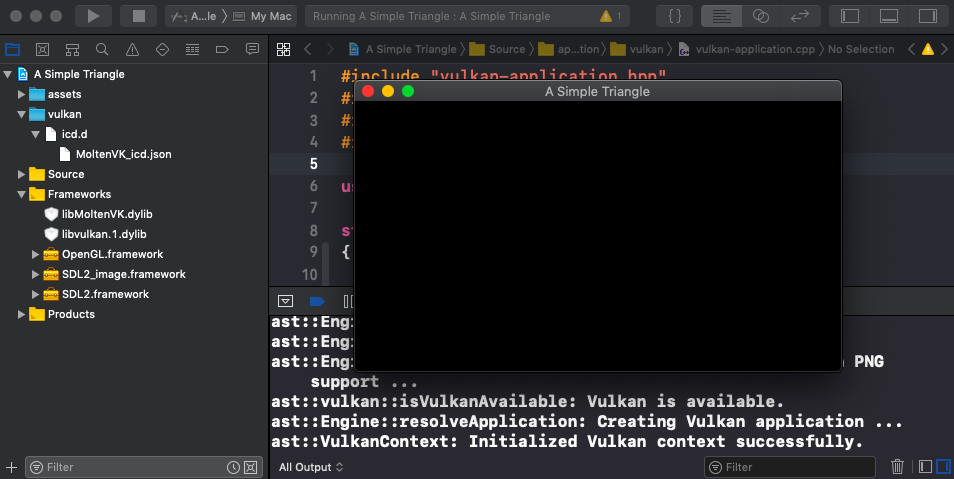
Run the project from Xcode and Vulkan should boot up successfully:
Summary
That was pretty easy huh? Next up we will tackle iOS.
The code for this article can be found here.
Continue to Part 16: Vulkan setup iOS.
End of part 15
