a-simple-triangle / Part 30 - Basic user input
Marcel Braghetto 20 October 2019
>>> Read full article
This will be the final technical article of the series where we will add some very basic user input to allow us to move around in our 3D scene with the keyboard. This article felt like a nice way to finish this series as our scene has been pretty static so far. The goals are:
- Introduce a new player class which holds the position and orientation of the player in the 3D world.
- Update our existing perspective camera class to allow the ability for its position and orientation to be set, which we’ll do based on the player.
- Add input processing to scan for keys being pressed, allow our player class to move and rotate, which our camera will follow.
a-simple-triangle / Part 29 - Window resize events
Marcel Braghetto 19 October 2019
>>> Read full article
In this article we will fix a bug related to resizing our window at runtime which causes our rendering to become incorrect.
a-simple-triangle / Part 28 - Vulkan render scene
Marcel Braghetto 6 October 2019
>>> Read full article
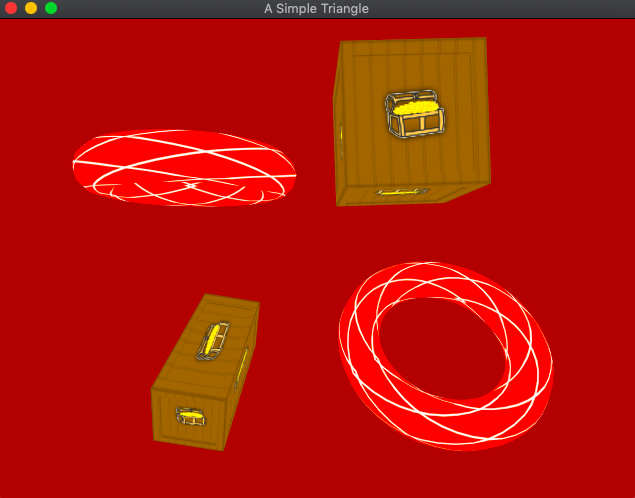
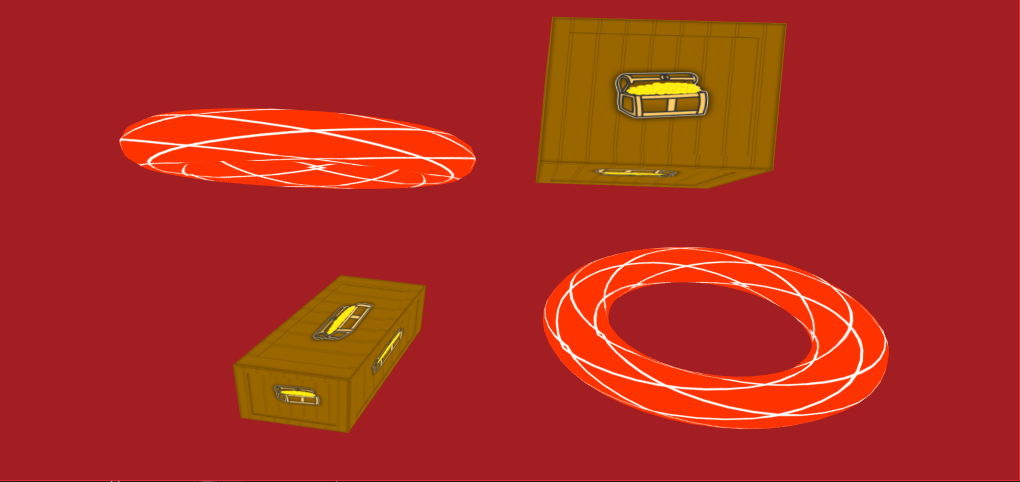
It’s been a long road getting Vulkan up and running - on a few occasions I really had to force my motivation levels to complete some of the more tricky Vulkan articles though I’m glad I pushed through to this point. This article will reward us finally by seeing our 3D scene come to life in our Vulkan renderer.
We will:
- Add a new function to our asset manager to expose fetching a cached pipeline.
- Implement the
render function properly in our Vulkan pipeline class including the provisioning of descriptor sets for our textures so they can be bound correctly to our pipeline layout.
- Add a way for our Vulkan render context to expose to a visitor the currently active command buffer within its rendering loop which will be required by our pipeline during the render phase.
a-simple-triangle / Part 27 - Vulkan load textures
Marcel Braghetto 6 October 2019
>>> Read full article
Now that loading mesh data is out of the way we can implement the final asset type for our Vulkan application - textures. There is actually no such thing as a built in ‘texture’ object in Vulkan, rather the expectation is that the developer implement a data structure that has the characteristics of a ‘texture’ that Vulkan can read from during rendering.
Specifically in this article we will:
- Make a small tweak to our physical device and logical device to allow us to apply anisotropic filtering to our textures - this will noticeably improve the rendering quality.
- Introduce a new Vulkan class that represents a texture object.
- Update the Vulkan asset manager to create and cache Vulkan texture objects.
a-simple-triangle / Part 26 - Vulkan load meshes
Marcel Braghetto 5 October 2019
>>> Read full article
The next Vulkan implementation we will author is to load our static mesh asset files. To do this we will need to learn a bit about Vulkan buffers which are the data structures that will represent the vertices and indices of our mesh data inside Vulkan. We followed a similar approach in our OpenGL implementation where we took the basic mesh data from our ast::Mesh class and fed it into OpenGL specific buffers.
The (rather terse) Vulkan doco for buffers is here: https://www.khronos.org/registry/vulkan/specs/1.1-extensions/man/html/VkBuffer.html.
Specifically in this article we will:
- Introduce a new Vulkan class that represents a buffer object.
- Introduce a new Vulkan class that represents a Vulkan mesh, which will use our buffer class in its implementation.
- Update the Vulkan asset manager to create Vulkan mesh objects.
a-simple-triangle / Part 25 - Vulkan shader pipeline
Marcel Braghetto 21 September 2019
>>> Read full article
Vulkan - Shader Pipeline
The first category of asset integration for our Vulkan application will be the shader pipeline. You may remember when we wrote the OpenGL application we modelled a class named OpenGLPipeline whose responsibility was the following:
- Initialise and load a given set of shader files from our bundled assets folder.
- Compile the loaded shader files and merge them into a shader program.
- Provide a way to render a list of static meshes using the pipeline’s shader program.
In this article we will implement an equivalent version of this pipeline for our Vulkan application. In particular we will:
- Author a build script to compile Vulkan shader files into our application’s assets.
- Add the ability to load binary asset files at runtime.
- Update the physical and logical device classes to prepare for the Vulkan shader pipeline code.
- Refactor the way our scenes load their assets to accommodate Vulkan lifecycle changes.
- Author the Vulkan shader pipeline for our default shader.
a-simple-triangle / Part 24 - Vulkan render loop
Marcel Braghetto 27 July 2019
>>> Read full article
Vulkan - Render Loop
We are finally ready to wire up our core Vulkan render loop, using a number of the Vulkan components we’ve worked so hard to implement.
The goal of this article is to:
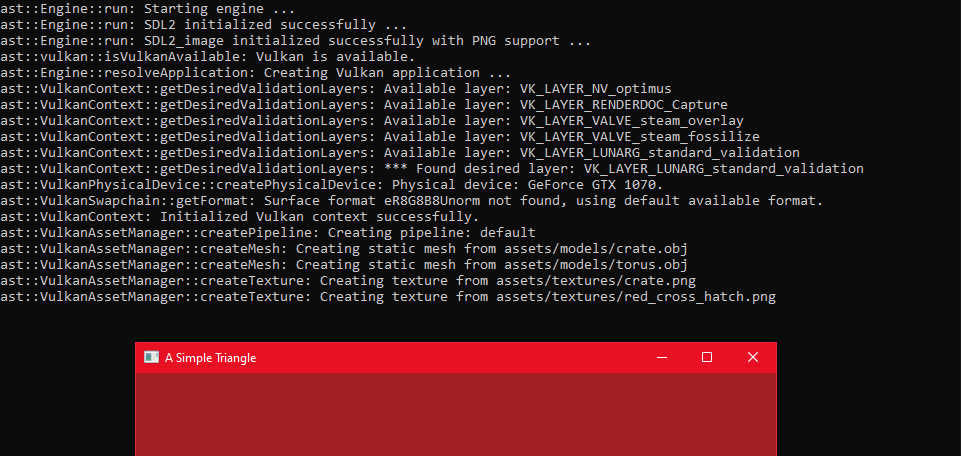
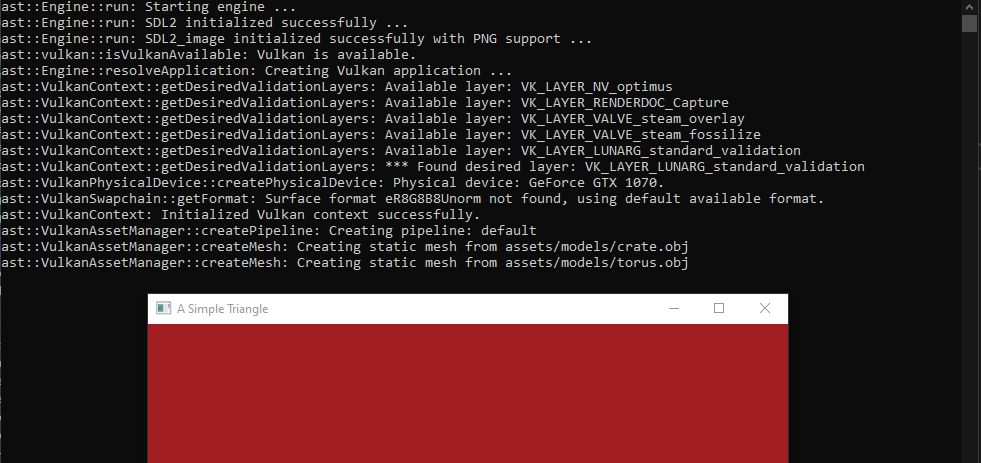
- Introduce a basic Vulkan render loop that will clear the screen to the tasty Vulkan red colour.
- Handle the situation where the swapchain is detected to be out of date and should be regenerated.
We will start using a few new Vulkan components in this article as well, including semaphores and fences.
The (awesome) Vulkan Tutorial site has a great walkthrough of the key parts we will be implementing: https://vulkan-tutorial.com/Drawing_a_triangle/Drawing/Rendering_and_presentation and is worth a read especially to get familiar with semaphores and fences.
Some of our implementation will follow cues given in that tutorial site.
a-simple-triangle / Part 23 - Vulkan create frame buffers
Marcel Braghetto 20 July 2019
>>> Read full article
Vulkan - Create Frame Buffers
During our Vulkan render loop we will use our swapchain to cycle between its images - one of which will be presented while one or more are being prepared for the next time a frame is ready to be presented.
Our render pass will be the vehicle which will perform the rendering through the subpasses it contains. In order for a render pass to interact with the presentation it needs to use a collection of frame buffer attachments - one to complement each swapchain image.
Each time our render loop runs we will need to find out which swapchain image position to target, then associate the frame buffer at the same position from our collection of frame buffers with the render pass that will be invoked. This lets our render pass know where the output from its subpasses should go or be read from, syncing it to the correct swapchain image.
Warning: This will be a fairly complicated article - we will need to introduce a number of new Vulkan components which will require us to jump in and out of different parts of our code base as we go.
a-simple-triangle / Part 22 - Vulkan create render pass
Marcel Braghetto 7 July 2019
>>> Read full article
Vulkan - Create Render Pass
While the Vulkan swapchain was a difficult component to implement, it gives us the prequisites for some of the remaining components needed to form a renderer. In this article we will progress through the following topics:
a-simple-triangle / Part 21 - Vulkan create swapchain
Marcel Braghetto 30 June 2019
>>> Read full article
Vulkan - Create Swapchain
In the previous article I mentioned that the swapchain is a Vulkan component which allows us to render to the screen and have off screen frame buffers that are cycled through, so the renderer can always be preparing the next frame while another is being presented. Creating an instance of a swapchain is a pretty dense coding exercise but we have little choice but to work our way through it as it is a prerequisite to rendering anything in Vulkan.
These sites provide some detailed explanations of the swapchain and ways to acquire one:
In the article about creating a physical device we wrote code to check for the support for the swapchain extension. We also requested the VK_KHR_SWAPCHAIN_EXTENSION_NAME extension when creating the logical device - so our application should be well positioned to successfully create a swapchain by the time we need one. That said, if we cannot create a swapchain it will trigger our fallback flow for our application - reverting to the OpenGL implementation.
a-simple-triangle / Part 20 - Vulkan create device
Marcel Braghetto 23 June 2019
>>> Read full article
Vulkan - Create Device
Now that we have completed the setup for all of our platform targets to consume Vulkan the fun really begins! This article will revisit the initialisation code we wrote earlier that bootstraps Vulkan, adding in the following remaining components that Vulkan requires:
Before proceeding I’d highly recommend spending some time reviewing the following web sites to get familiar with some of these concepts - especially the Vulkan Tutorial site which taught me quite a lot about this:
a-simple-triangle / Part 19 - Vulkan setup Windows
Marcel Braghetto 22 June 2019
>>> Read full article
In this article we will configure our Windows platform to use Vulkan but keep our OpenGL implementation as a fallback at runtime. The Windows setup will be similar to earlier Windows articles where we included and linked against third party libraries such as SDL and GLM.
On a Windows computer a user will typically have graphics card drivers installed to provide the actual Vulkan implementation which we can’t link directly against. Instead we can use the .lib libraries which the Vulkan SDK provides us to give us a way to successfully link against the Vulkan APIs.
a-simple-triangle / Part 18 - Vulkan setup Emscripten
Marcel Braghetto 22 June 2019
>>> Read full article
In this article we will update our C++ code base and Emscripten platform target configuration to exclude Vulkan as we can only run WebGL code in the browser. At the time of writing these articles there was no way to run Vulkan in the browser - though it appears it is front of mind for the development of next generation standard web standards.
a-simple-triangle / Part 17 - Vulkan setup Android
Marcel Braghetto 16 June 2019
>>> Read full article
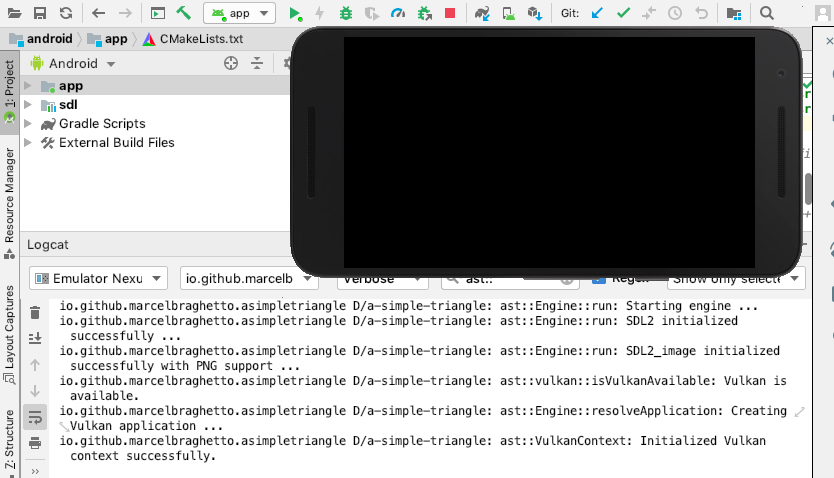
In this article we will get Vulkan running on Android. When I was researching how to do this I got stuck a number of times and went down a few rabbit holes trying to understand how to get the damn thing working the way I wanted.
One of the key differences with Android compared to MacOS and iOS is that we will use the dynamic Vulkan loader on Android - meaning that there will be no library that we link against at compile time to statically resolve the Vulkan APIs.
a-simple-triangle / Part 16 - Vulkan setup iOS
Marcel Braghetto 15 June 2019
>>> Read full article
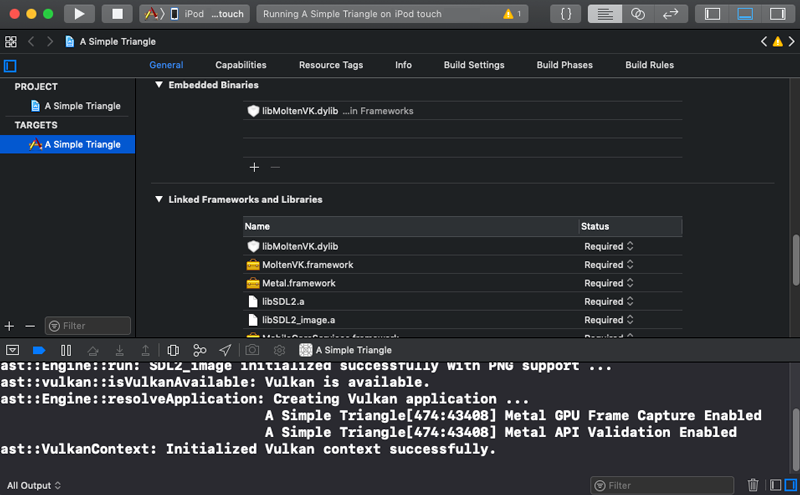
In this article we will get Vulkan running on iOS. This is a pivot point for our iOS platform target - in order to compile an iOS application to use Vulkan it will need to be capable of running Apple’s Metal framework.
a-simple-triangle / Part 15 - Vulkan setup MacOS
Marcel Braghetto 15 June 2019
>>> Read full article
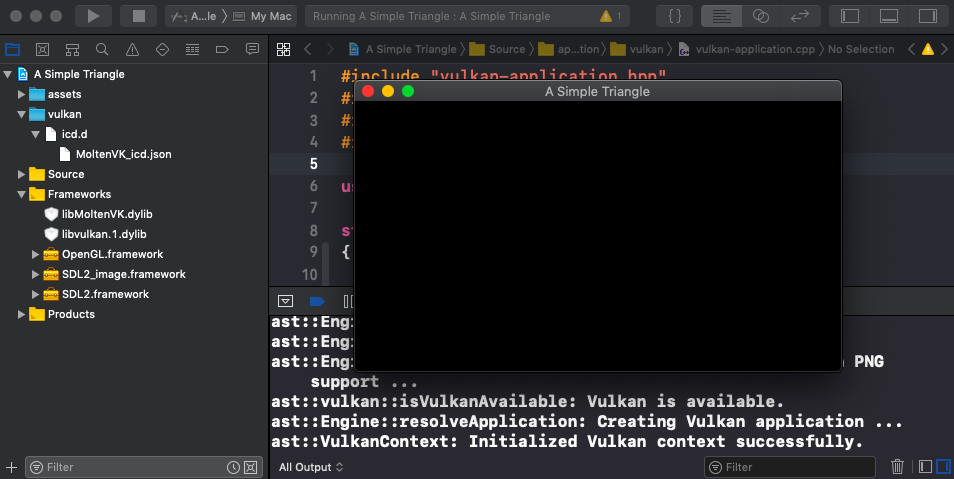
In this article we will take our basic Vulkan initialisation into the MacOS platform target. Most of the effort to do this is updating the Xcode project structure to include the correct libraries and files - most of the C++ is already done from the previous article.
a-simple-triangle / Part 14 - Vulkan setup console
Marcel Braghetto 9 June 2019
>>> Read full article
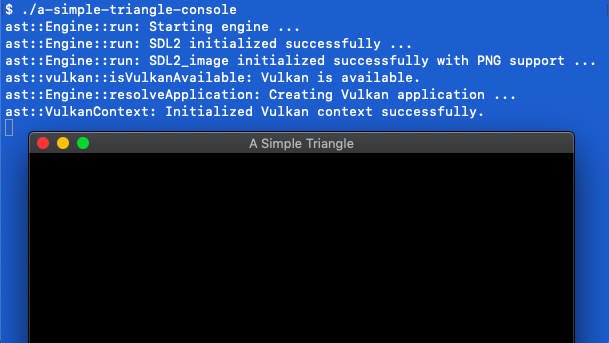
Our Mac console will be the first target to setup Vulkan, though incidentally it will be via the MoltenVK library which gives us the ability to use the Vulkan SDK on Mac and iOS. In this article we will:
- Write some setup scripts to download the Vulkan SDK for Mac.
- Learn how to integrate the Vulkan SDK into our console platform target.
- Author the first slice of our
VulkanApplication class which will be a sibling to our existing OpenGLApplication class.
- Update our existing
Engine class to try and initialise Vulkan, and fall back to OpenGL if it cannot.
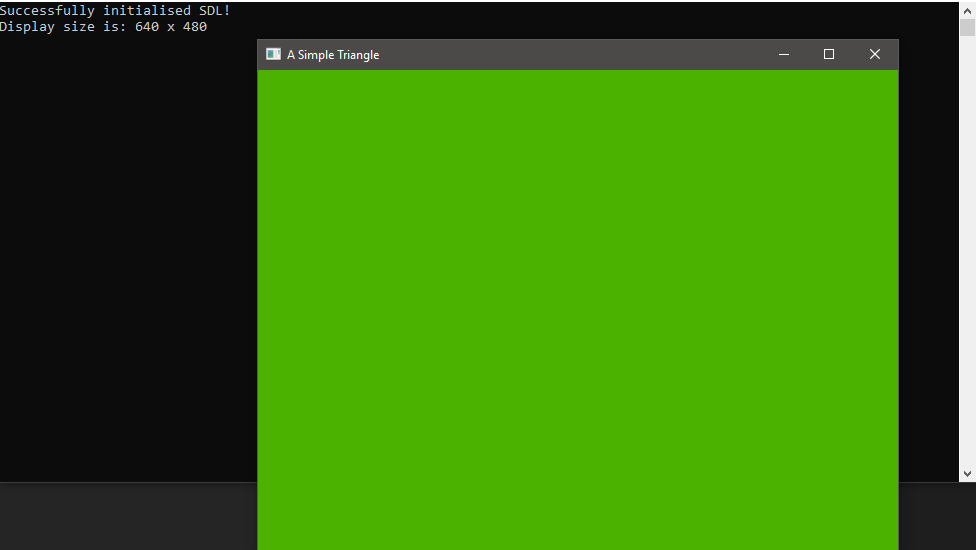
- Be able to start the console app and see Vulkan intialise itself.
a-simple-triangle / Part 13 - Vulkan introduction
Marcel Braghetto 8 June 2019
>>> Read full article

Ok strap yourself in - now we start the journey of implementing our Vulkan rendering system. We will get Vulkan running on all of our target platforms that support it - which is pretty much everything except for Emscripten.
Before we get into the technical swing of things I would strongly recommend learning about Vulkan itself. This is the official site for the Vulkan APIs: https://www.khronos.org/vulkan/.
I had a lot of trouble understanding Vulkan and my fluency with it is still pretty basic. The way I was able to learn about it was from these awesome sites:
By working my way through some of the Vulkan tutorial sites and cross referencing demos in the Github links above, I was able to get Vulkan up and running successfully on my Mac and other platforms. One of the key outcomes I pushed for was to use the Vulkan C++ header instead of the C header, to allow for - in my opinion - a more pleasing coding style and architecture.
a-simple-triangle / Part 12 - Scenes and update loop
Marcel Braghetto 26 May 2019
>>> Read full article
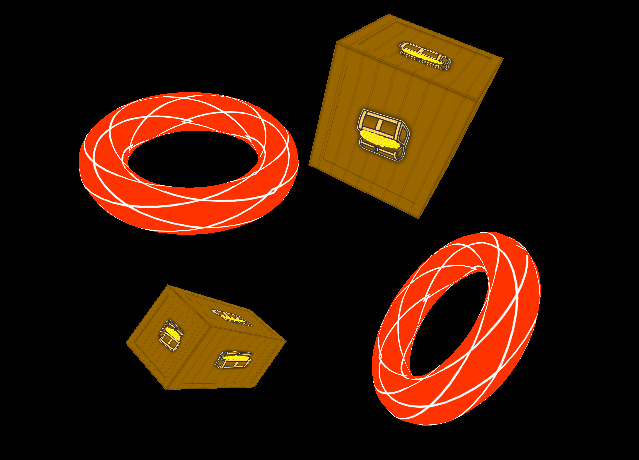
Although we have a working OpenGL renderer and have successfully loaded and displayed a 3D mesh, our approach is a tad rigid. We have so far hard coded our implementation directly into the OpenGLApplication class. This article will be long and is jam packed with refactoring and improvements including:
- Introduction of an update loop which will give a scene the opportunity to apply its behaviour each frame, such as moving objects around and running logic.
- Formalisation of our inventory of assets into strongly typed enumerations representing our pipelines, static meshes and textures to give us compile time safety and an abstract modelling of them.
- Introduction of a new static mesh instance class to represent a 3d model with its own position, scale, rotation and texture. This will allow us to define multiple instances of a model in our 3D world but without duplicating their underlying mesh and texture data. We will also be writing an asset manager class to support this idea.
- Introduction of a new scene class to represent a 3D world. The scene will be responsible for defining what objects should be rendered and what behaviour to apply to them inside the update loop.
- Updates to the OpenGL renderer and OpenGL default pipeline to allow them to integrate with our application and scene.
- Updates to the OpenGL application itself to use our new scene class.
While this will be the final OpenGL based article before we delve into the Vulkan implementation, be sure to carefully follow through it to the end as some of the changes are quite significant.
a-simple-triangle / Part 11 - OpenGL texture mapping
Marcel Braghetto 5 May 2019
>>> Read full article

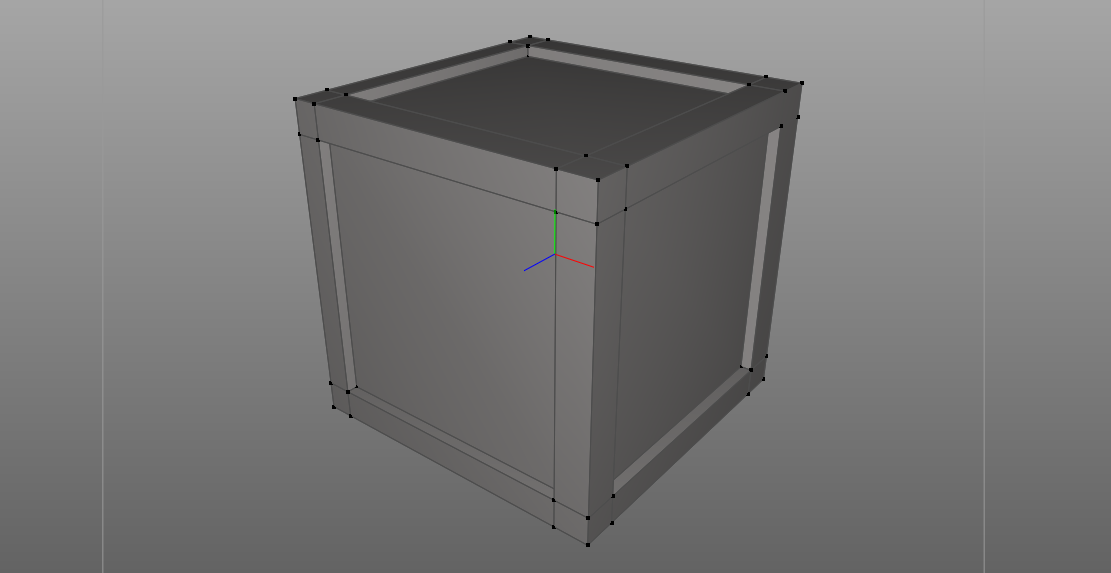
Now that we have a 3D mesh rendering to our screen we will add texture mapping to start breathing a bit of life into it.
In this article we will cover:
- Introduction of the third party library
SDL2_image to help us load image files for our texture mapping.
- Addition of
assets code to load texture files from storage.
- Authoring of a class to represent a texture for use in OpenGL.
- Updating of our shaders and OpenGL mesh to apply texturing.
a-simple-triangle / Part 10 - OpenGL render mesh
Marcel Braghetto 25 April 2019
>>> Read full article
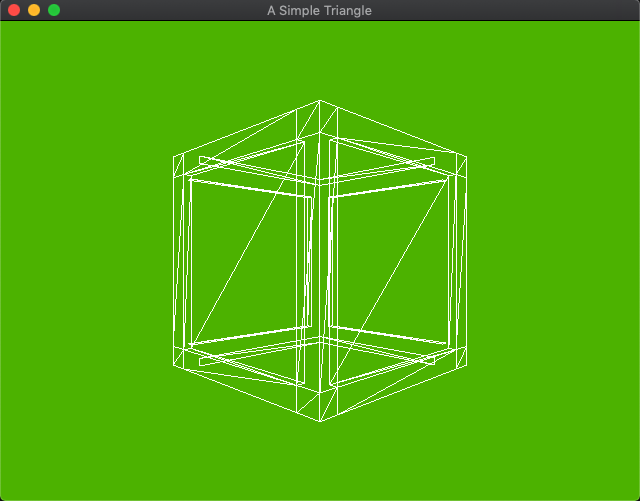
So here we are, 10 articles in and we are yet to see a 3D model on the screen. We spent valuable effort in part 9 to be able to load a model into memory, so let’s forge ahead and start rendering it.
This article will cover some of the basic steps we need to perform in order to take a bundle of vertices and indices - which we modelled as the ast::Mesh class - and hand them over to the graphics hardware to be rendered. Here’s what we will be doing:
- Explore the OpenGL Shader Language (GLSL) and identify why it is critical to us if we want to render anything at all. We will write some code to load shader files to be used during the rendering pipeline.
- Gain a basic understanding of what a Vertex Buffer Object (VBO) is and what purpose it serves us. We will write some code to take an
ast::Mesh and generate an OpenGL flavoured mesh object which will use VBOs, then use the OpenGL mesh as the source for rendering.
- Author a simple
camera class that will contribute to the rendering pipeline which will configure where the virtual eye of our world should be.
a-simple-triangle / Part 9 - Load a 3D model
Marcel Braghetto 14 April 2019
>>> Read full article
Our trusty green screen hasn’t been particularly inspiring so far but its main purpose was to allow us to focus on the basic bare bones of our engine. If we had tried to setup our cross platform engine and tried to also load a 3D model and display it, the earlier parts in this series would have been (even more!) confusing. Now that the core bones of our engine are ready, we can begin loading and rendering 3D models.
This article will be fairly long because loading a 3D model actually requires us to introduce a number of new concepts and techniques into our code base. Specifically we will cover the following in this article:
- Implement data structures that can describe basic 3D geometry using the OpenGL Mathematics (GLM) library to help us.
- Introduce file
assets into each platform and link them into the build pipeline for each platform.
- Implement code for loading a basic 3D model from an
obj formatted file, parsing it into the appropriate data structures which can then be used as a rendering source.
Note: The GLM library is not just for OpenGL, it can be used for any 3D math though it was originally designed to work well with the kinds of data structures typically needed to write OpenGL applications. In later articles you will see that it works just as well for our Vulkan implementation as well.
a-simple-triangle / Part 8 - Refactor foundation
Marcel Braghetto 16 March 2019
>>> Read full article

Now that we have onboarded all our platform targets we can start concentrating more on authoring our C++ application code. As hinted at in the previous article, the code we have written so far will get our app up and running, but some parts are actually a bit smelly.
The goals of this article are:
- Add a logging class so we can ensure any console output only happens in debug builds, and all platforms receive the output.
- Adopt a C++ pattern that will allow us to use smart pointers and better encapsulate implementation code from header files.
- Model a basic
application class which knows how to run the main loop we made but doesn’t prescribe the graphics technology to use.
- Use our
application concept to model an OpenGL application - with a view that at a later point we would also have a Vulkan application.
- Encapsulate the code that is currently in the
main.cpp class into an engine class, which will be responsible for resolving the correct application and running it.
a-simple-triangle / Part 7 - Setup Windows
Marcel Braghetto 11 March 2019
>>> Read full article
In this article we are going to add in the Windows platform target to our existing workspace. This article almost never got written - I didn’t have a Windows machine that I used for development during most of the research for these articles. As I mentioned in part 1 of this series, in April 2019 I bought myself an Acer Predator Helios 500 Windows gaming laptop.
I bought it for a few reasons:
- I have always been a gamer though my old gaming PC has been gathering dust for years now and can’t really play anything modern. I had been gaming on my Xbox One for quite a while when I felt like some light gaming (I don’t want to know how many hours I’ve poured into Diablo III). I also can’t stand sitting at a desk to play games, so being able to flop on the couch or on the bed or pretty much anywhere and being able to have a beast computer on your lap seemed like an awesome idea.
- I really dislike the pricing of the current range of Apple MacBook Pro machines - not to mention they are abysmal for gaming or high performance graphics - even in Windows Bootcamp. I had been labouring for a couple of years over which MacBook Pro I would like to upgrade to, but to get a decent spec machine was going to cost something in the order of $5-6k NZD which frankly is far too much for a laptop in my opinion.
- I don’t like some of the build decisions Apple have made since the 2016 range of the MacBook Pro - mandatory touch bar, dodgy noisy keyboards, inflated pricing for performance, so I had really lost my desire to pump more money into Apple’s bank account.
I still spend almost 100% of my day job using a Mac, and most of my home development is still done on my MacBook Air 2012, but I am really enjoying having the Helios 500 handy for not only gaming but as a very capable alternate development platform. And let’s face it - Visual Studio on Windows is pretty much the gold standard in terms of C++ development IDEs, so I very much had this series of articles in mind when deciding to buy the Windows machine.
The purpose of that ramble was to highlight that I would probably never have folded in the Windows platform into these articles if I hadn’t bought my Windows laptop. So let’s jump in and get our engine running on Windows!!
a-simple-triangle / Part 6 - Setup Emscripten
Marcel Braghetto 10 March 2019
>>> Read full article
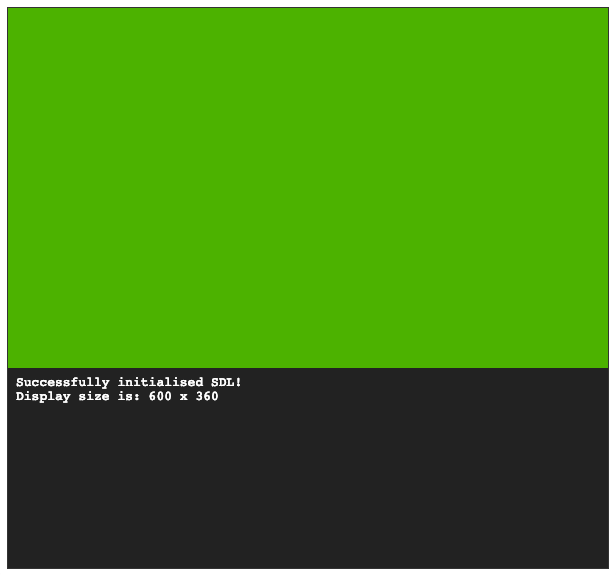
In this article we are going to add in the Emscripten platform target to our existing workspace. This will give us a way to run our application within a WebGL compatible browser.
For me this is one of the coolest technologies I got to play with while writing this series of articles. Many (many!) years ago I was a professional multimedia developer and spent a great deal of my time developing rich browser applications using Adobe Flash and have also published mobile applications developed with Adobe AIR.
Around the same time that Steve Jobs killed off Flash (yeah he did) I shifted gears and gave up being a multimedia developer and instead became a mobile app developer with more of a focus on business centric mobile apps. To see a modern technology like Emscripten that allows rich multimedia software to run in the browser again really impresses me and reminds me of my multimedia days.
Enough reminiscing though, let’s get into it. I would highly recommend spending a good amount of time reading the official Emscripten site: https://emscripten.org - the technology is truly remarkable and is a great use case of LLVM.
a-simple-triangle / Part 5 - Setup Android app
Marcel Braghetto 9 March 2019
>>> Read full article
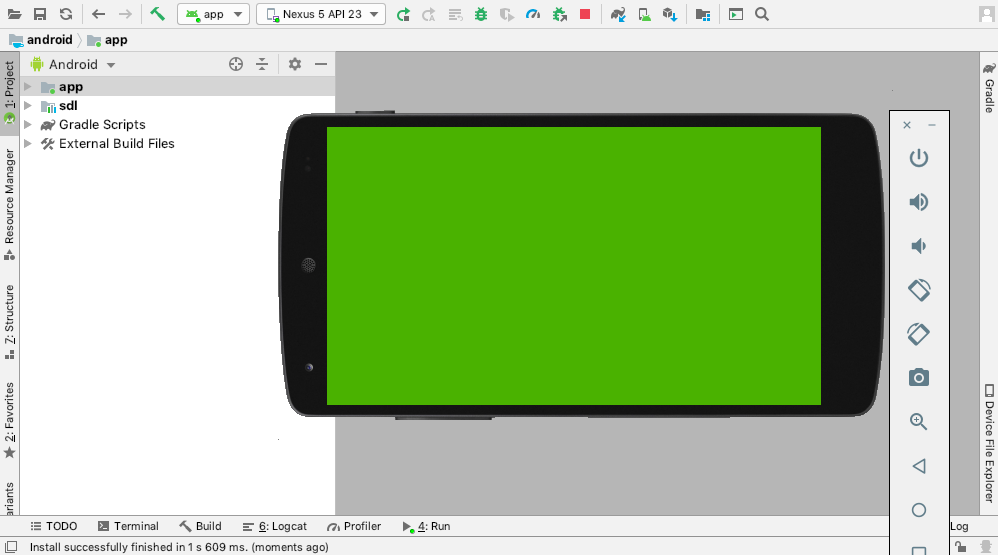
In this article we are going to add in the Android platform target to our existing workspace. To recap where we got to in our previous article we:
- Setup the iOS platform target using
XcodeGen to automatically create the project.
- Added the ability to know the current platform at runtime.
- Added the ability to create the SDL window with respect to the platform.
In this article, we will onboard our Android platform target, which will consist of:
- One Android project, containing two modules.
- The first module will be an
Android app module.
- The second module will be an
Android library module.
a-simple-triangle / Part 4 - Setup iOS app
Marcel Braghetto 9 March 2019
>>> Read full article
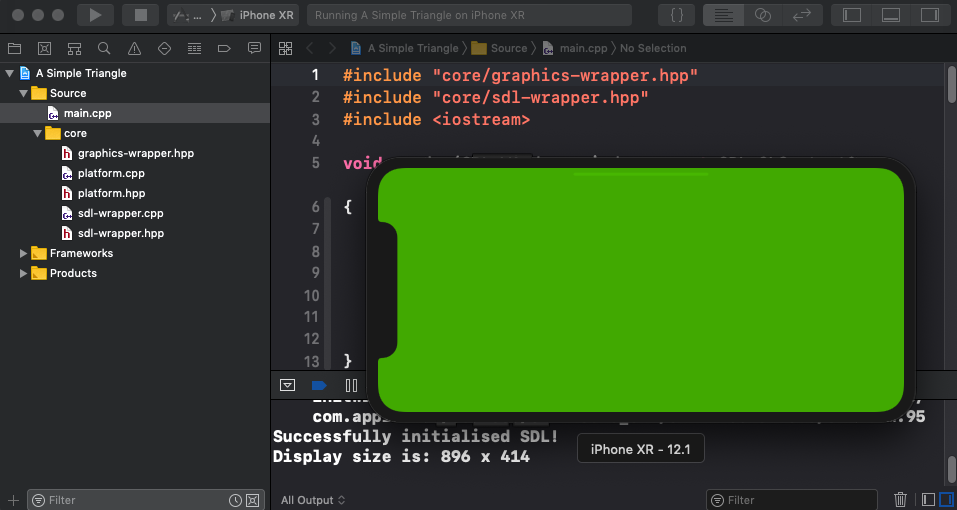
In this article we are going to add in the iOS platform target to our existing workspace. To recap where we got to in our previous article we:
- Setup the MacOS platform target using
XcodeGen to automatically create the project.
The setup for an iOS application will have a few similarities to the MacOS setup. Specifically, we will be using XcodeGen again to automatically generate the iOS Xcode project - giving us the same advantages that were discussed in the MacOS setup article.
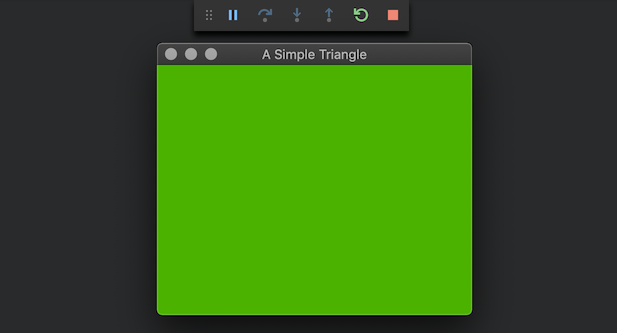
a-simple-triangle / Part 3 - Setup MacOS app
Marcel Braghetto 3 March 2019
>>> Read full article
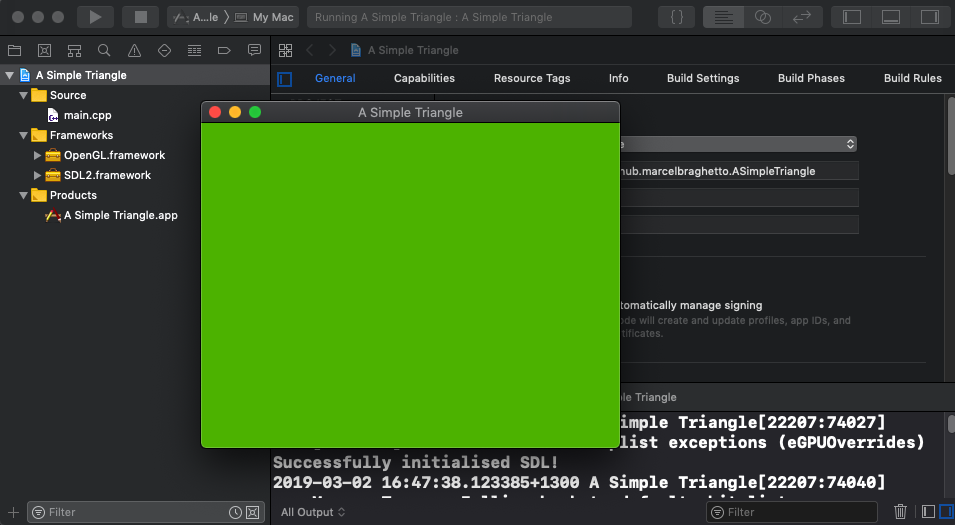
In this article we are going to add in the Mac Desktop platform target to our existing workspace. To recap where we got to in our previous article we:
- Setup our workspace folder structure.
- Added a shared library of shell scripts.
- Added a new Mac Console platform target.
- Automated the setup and building of the Mac Console target.
- Installed and configured Visual Studio Code as our editor for authoring our C++ code and running / debugging the console application.
To add the Mac Desktop platform target, we will build upon our existing workspace, continuing the theme of automating the setup scripts.
a-simple-triangle / Part 2 - Setup console app
Marcel Braghetto 2 March 2019
>>> Read full article
In this article we are going to start building the foundation of our engine.
Note: This article is quite long because we will be doing some automated foundational setup stuff before we start to actually write any code. The extra effort to automate our setup work will pay off when introducing the other platform targets later.
We will begin with our first target platform - a MacOS console application. We will use CMake as the build tool to define and compile our program using the Clang compiler that gets installed alongside Xcode (which is why we needed to install Xcode and its command line tools in the last article). The console application will give us a nice quick application to do our development and iteration on without being burdened with having to deploy to a device such as a phone or simulator.
a-simple-triangle / Part 1 - Introduction
Marcel Braghetto 2 March 2019
>>> Read full article

Welcome to the first article in my series A Simple Triangle, or AST for short, which is the brain dump of my learning journey into how to author a very simple cross platform graphics engine using C++ and a variety of software toolkits. I picked the name A Simple Triangle because triangles are one of the fundamental structures that we end up rendering in a graphics system.
By the end of this series I hope to have documented my knowledge about how to do the following things:
- Create a (very basic) shared C++ game engine that can be compiled and run on a number of different platforms.
- Take advantage of Vulkan / MoltenVK on platforms that support it.
- Provide a ‘compatibility’ fallback if Vulkan cannot be used, in the form of OpenGL and OpenGL ES.
